Detailed Tutorial: Mastering the Notification Tab in ConvertPods
Introduction:
This tutorial offers a step-by-step guide on effectively using the Notification Tab in ConvertPods. By following these detailed steps, you can set up and customize notifications to enhance attendee engagement and communication.
Step 1: Accessing the Notification Tab
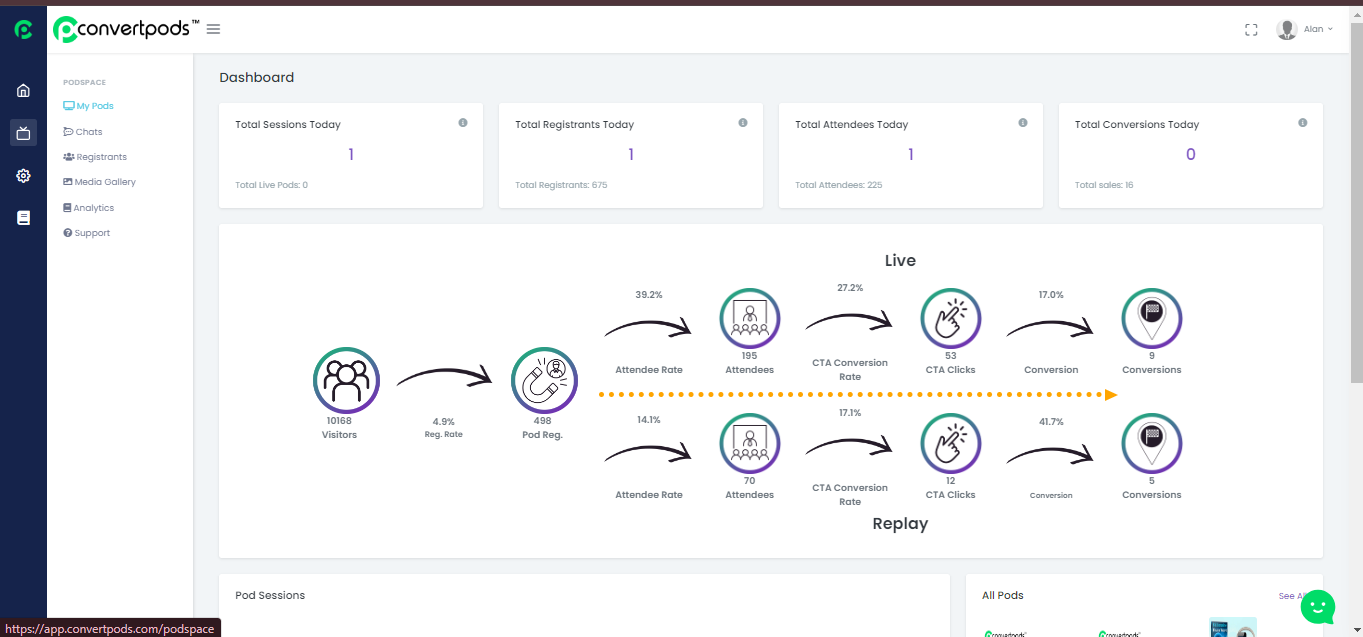
Sign Into ConvertPods: Launch ConvertPods and log in with your credentials.
Select Your Pod: On your dashboard, identify and select the Pod you want to manage.
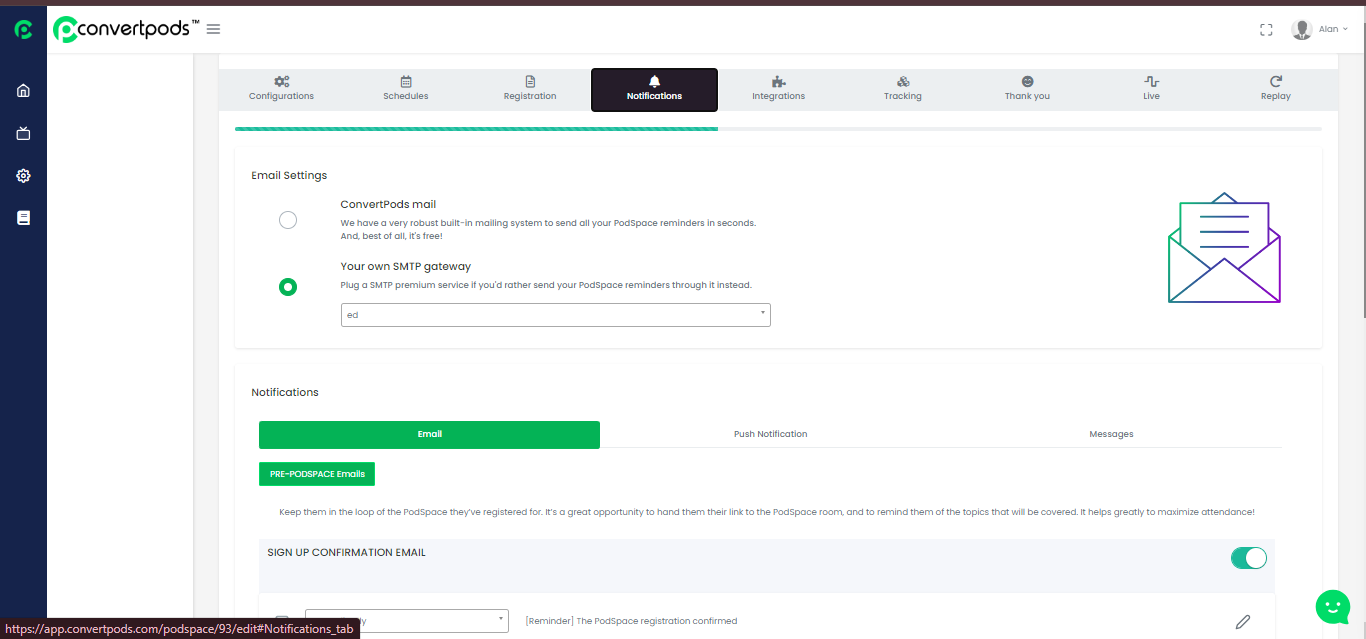
Locate the Notification Tab: Within your Pod’s settings, find and click on the ‘Notification’ tab. This is where you’ll set up various notifications for your Pod.
Step 2: Integrating SMTP Settings
Navigate to SMTP Integration: In the Notification Tab, locate and open the integration settings, typically labeled as ‘SMTP Settings’ or ‘Email Integration’.
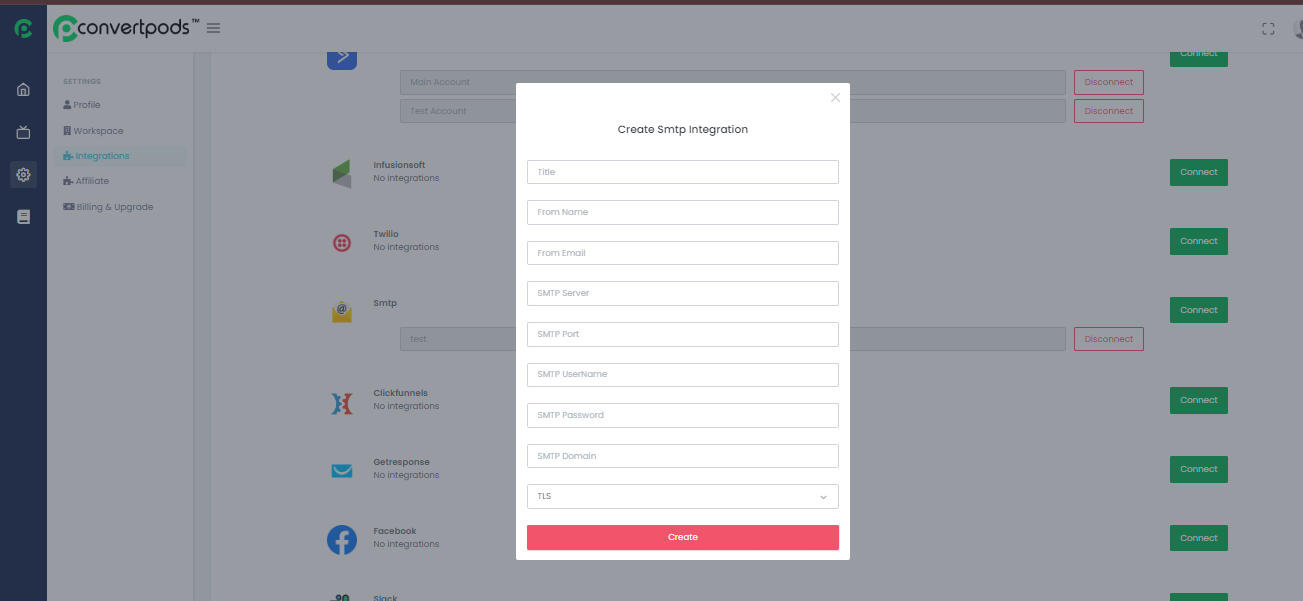
Adding SMTP Details: Click on ‘Add New’ or ‘Configure’ to set up your SMTP. This includes:
Title: Name this SMTP configuration for easy identification.
From Name and Email: Set the display name and email address that attendees will see.
SMTP Server Information: Input your SMTP server address, port, login credentials (email and password), and domain.
Encryption Selection: Choose between TLS or SSL encryption based on your SMTP provider’s specifications.
Step 3: Configuring Email Notifications
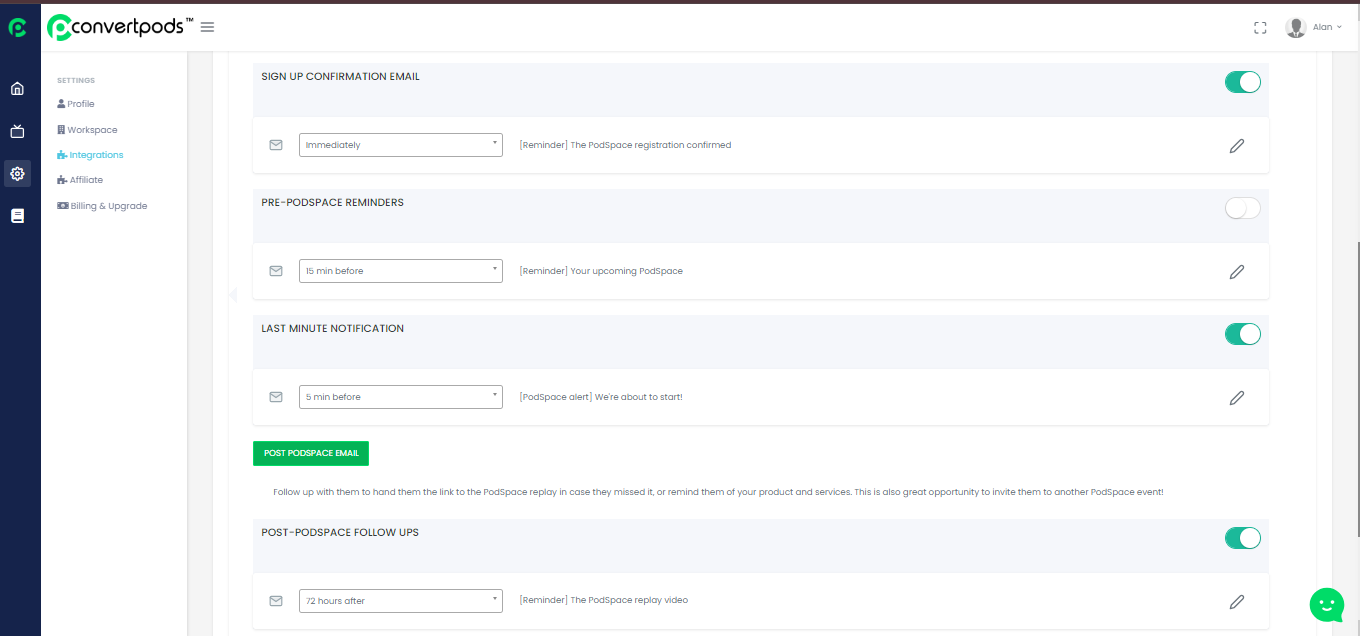
Setup Various Email Notifications: Look for options like ‘Sign Up Confirmation’, ‘Pre-Event Reminder’, and ‘Post-Event Follow-Up’.
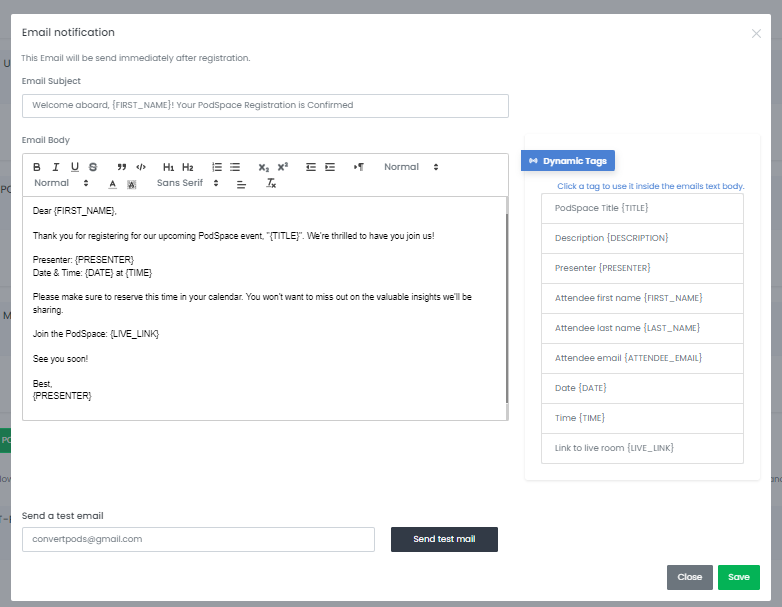
Edit Each Notification: For each type of notification, click the edit icon (usually a pencil) to customize the content.
Email Subject and Body: Modify the email subject and body. Use dynamic tags (like {FirstName}) to personalize emails.
Setting Timing for Reminders: For reminder emails, select the appropriate time before the event (e.g., 15 minutes, 1 hour).
Step 4: Customizing Message Notifications
Locate Message Notifications: Find sections for push and message notifications within the tab.
Enable or Disable as Needed: Use toggle switches to activate or deactivate each type of notification.
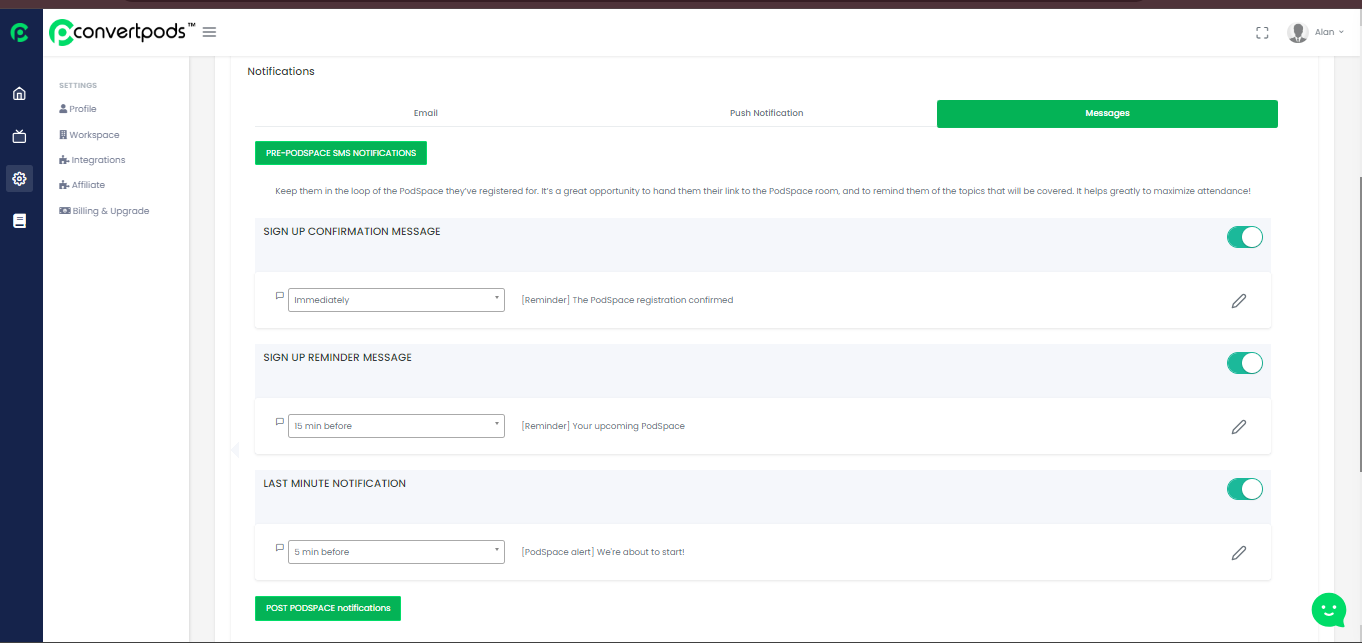
Customize Messages: Edit the content of each notification, ensuring it’s concise and clear.

Step 5: Testing and Saving
Send Test Email: Use the ‘Send Test Email’ feature to check how your emails appear in an inbox.
Save Your Settings: After configuring each notification, click ‘Save’ or a similar button to apply changes.
Review All Notifications: Ensure all notifications are set up correctly and contain the right information.

Conclusion:
Mastering the Notification Tab in ConvertPods allows you to effectively communicate with your attendees, providing timely and relevant information. By customizing each notification, you ensure your attendees are well-informed and engaged throughout your Pod event.
Additional Tips:
Personalization: Make use of dynamic fields to personalize notifications, making attendees feel more valued.
Consistency in Branding: Ensure your notifications reflect your brand’s tone and style.
Feedback Mechanism: Consider adding a feedback link in post-event notifications to gather attendee insights.
This tutorial is designed to help you leverage the full potential of ConvertPods’ Notification Tab, enhancing the overall experience for both you and your attendees.